
Template Fonts is reader supported. When you buy through links on our site, we may earn an affiliate commission. Learn more
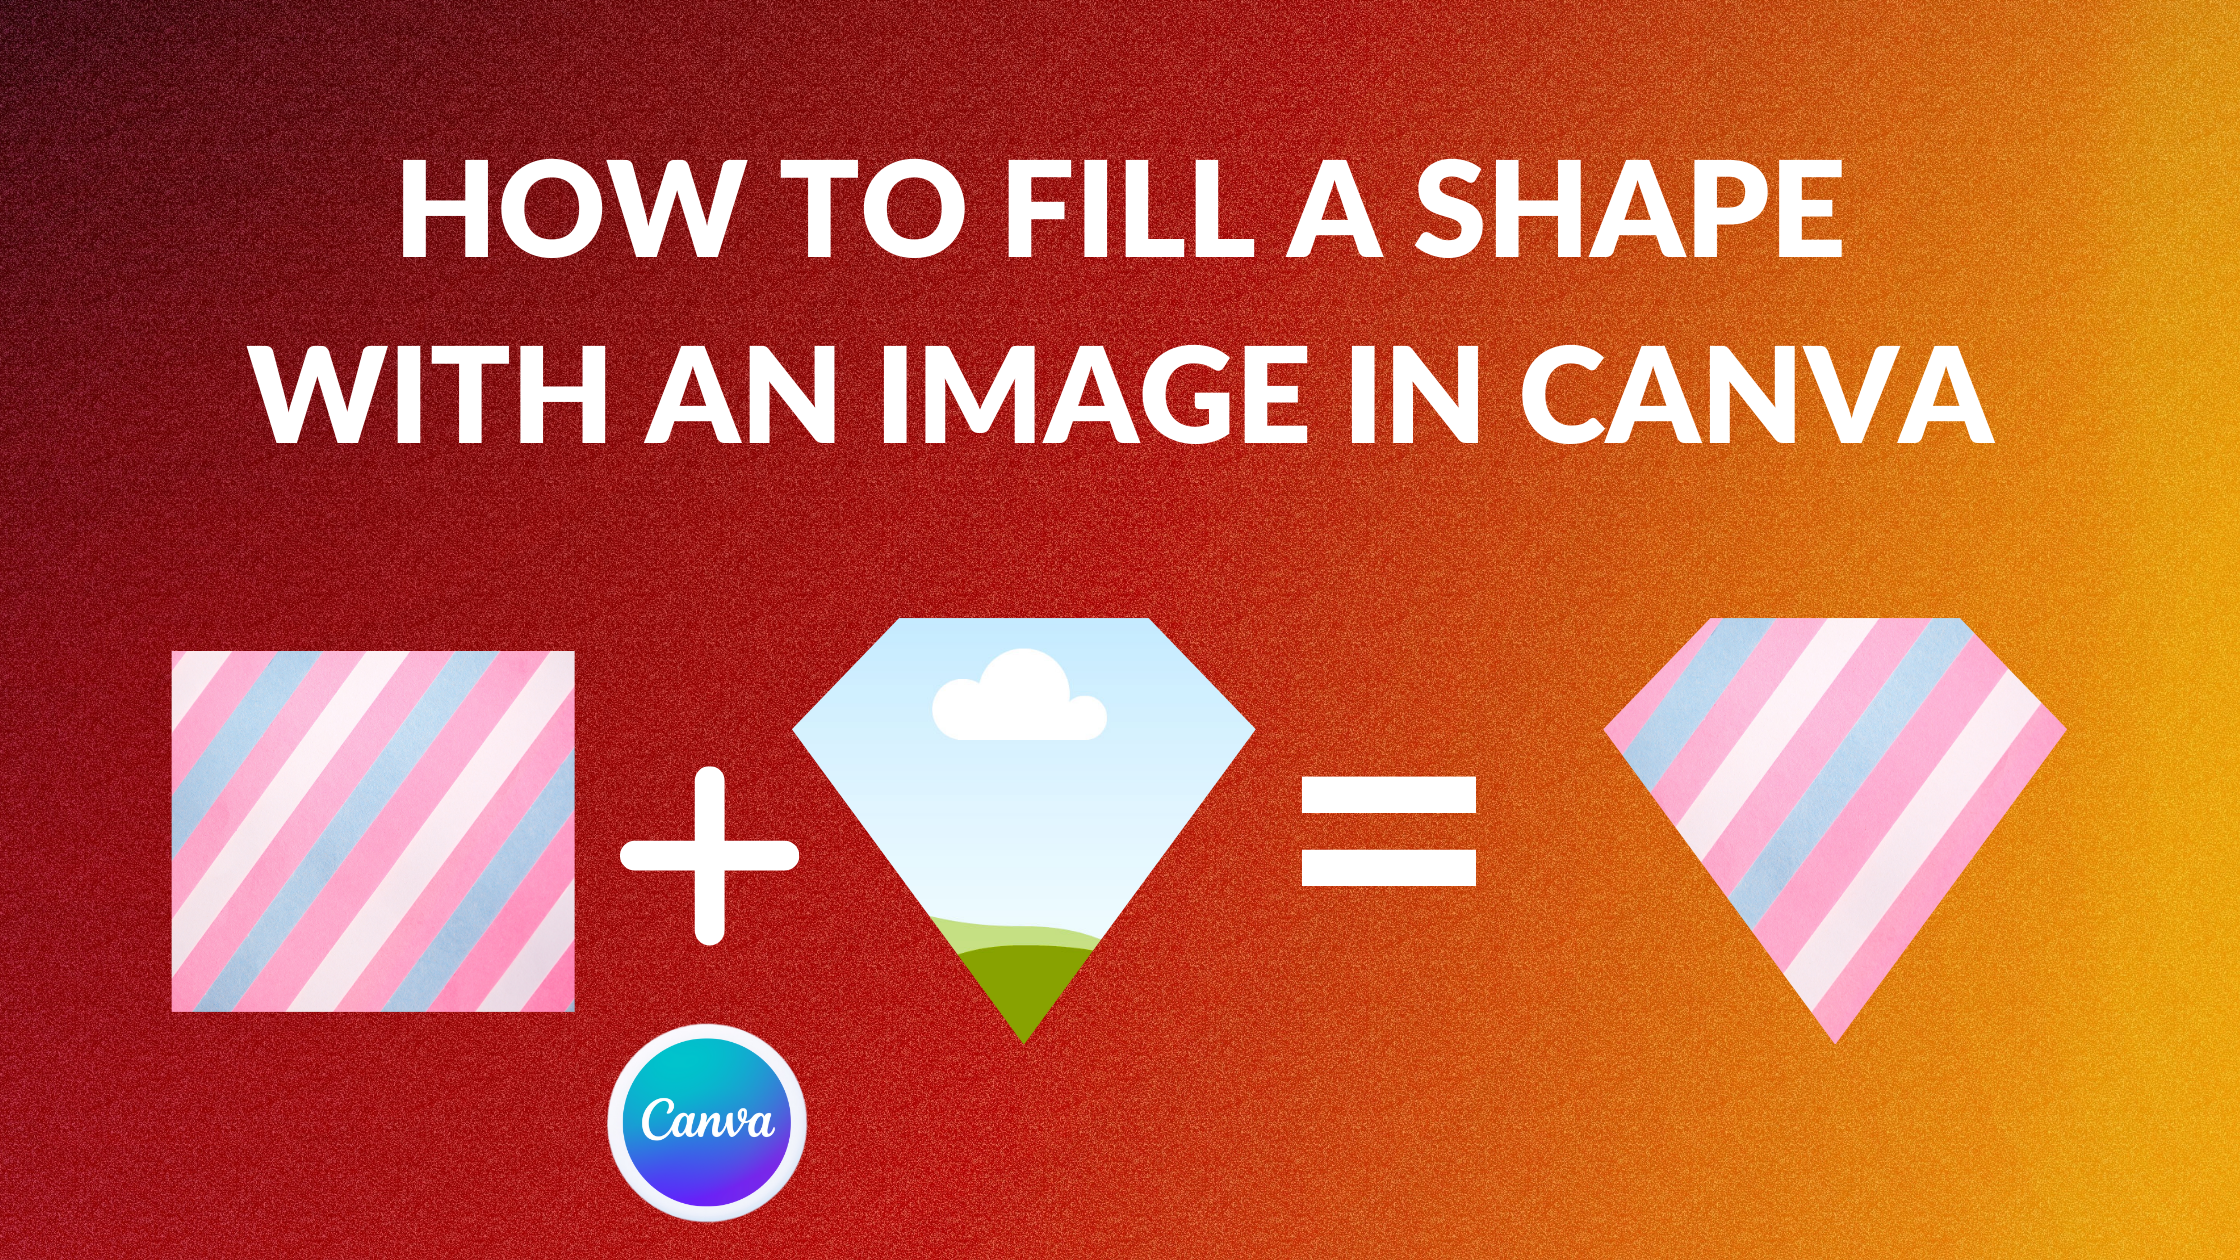
Canva is a popular graphic design tool that allows users to create stunning visuals for various purposes. One of the most useful features of Canva is the ability to fill a shape with an image. This allows users to create unique designs that stand out from the crowd.
To fill a shape with an image in Canva, users can follow a few simple steps. Firstly, they need to select a frame from the Frames section in the Elements tab. Secondly, they can choose an image from the Photos tab and drag it onto the frame. Lastly, they can adjust the image to fit the frame by resizing and repositioning it. With these steps, users can easily fill a shape with an image in Canva.
Whether you are creating social media graphics, flyers, or presentations, filling a shape with an image can add an extra layer of creativity to your design. With Canva’s user-friendly interface and powerful features, anyone can create professional-looking visuals in no time.
Understanding Canva’s Interface
Canva is a user-friendly graphic design tool that allows anyone to create professional-looking designs. Understanding Canva’s interface is essential to efficiently using the platform. This section will cover the basics of Canva’s interface, including how to navigate the dashboard, utilize the design panel, and explore the elements tab.
Navigating the Dashboard
Canva’s dashboard is the first thing users see when they log in. The dashboard is where users can access their designs, create new designs, and explore Canva’s templates and design options. The dashboard is divided into three main sections: the sidebar, the design panel, and the elements tab.
The sidebar is located on the left side of the dashboard and contains options for creating new designs, accessing templates, and managing designs. The design panel is located in the center of the dashboard and is where users can edit and customize their designs. The elements tab is located on the right side of the dashboard and contains various design elements that users can add to their designs.
Utilizing the Design Panel
The design panel is where users can edit and customize their designs. The design panel includes options for adding text, images, shapes, and other design elements. Users can also adjust the size, color, and position of design elements in the design panel.
One useful feature of the design panel is the ability to fill a shape with an image. To fill a shape with an image, users can select the shape they want to fill and then drag and drop an image from the uploads or photos tab onto the shape. Users can then adjust the image within the shape using the design panel.
Exploring the Elements Tab
The elements tab is where users can find various design elements to add to their designs. The elements tab includes options for adding shapes, lines, icons, illustrations, and more. Users can also search for specific design elements using the search bar at the top of the elements tab.
One useful feature of the elements tab is the ability to add frames to designs. To add a frame to a design, users can select the frame they want to add from the frames section of the elements tab. Users can then drag and drop an image onto the frame to fill it with an image.
Related Posts:
Selecting the Right Shape
When it comes to filling a shape with an image in Canva, the first step is to select the right shape. Canva offers a wide range of predefined shapes that you can use for your design. You can also customize your own shape to make it unique.
Choosing from Predefined Shapes
To choose from predefined shapes in Canva, click on the “Elements” tab on the left-hand side of the screen. Then, scroll down to the “Shapes” section and click on “See All” to view all the available options. You can choose from basic shapes like circles, squares, and triangles, or more complex shapes like stars and hearts.
Once you have selected the shape you want to use, simply drag and drop it onto your design canvas. You can then resize and position the shape as needed.
Customizing Your Own Shape
If you want to create a custom shape, Canva offers a variety of tools to help you do so. To create a custom shape, click on the “Shapes” tab and select the “Custom Shape” option. You can then use the “Draw” tool to create your own shape by clicking and dragging on the canvas.
Once you have created your shape, you can fill it with an image by following the same steps as with a predefined shape.
Remember to choose a shape that complements your design and fits the image you want to fill it with.
Related Posts:
- How to Create Sublimation Design in Canva
- How to Draw a Curved Line in Canva
- How to Change a Logo Color in Canva
- How to Create a Background Gradient in Canva
How to Upload an Image
When creating a design in Canva, you may want to include an image to fill a shape. Fortunately, Canva makes it easy to upload images from your device or choose from their library.
From Your Device
To upload an image from your device, follow these steps:
- Click on the “Uploads” tab on the left-hand side of the screen.
- Click the “Upload an image or video” button.
- Select the image you want to upload from your device.
- Once the upload is complete, you can drag and drop the image onto your design.
From Canva’s Library
Canva has a vast library of images that you can use in your designs. To access the library, follow these steps:
- Click on the “Elements” tab on the left-hand side of the screen.
- Scroll down to the “Photos & Videos” section.
- Click on the search bar and type in a keyword to find an image related to your design.
- Once you find an image you like, click on it to add it to your design.
Remember, when uploading an image from your device, make sure it is high quality and fits the dimensions of your design. When using an image from Canva’s library, make sure to check the licensing requirements to avoid any copyright issues.
Related Posts:
Filling a Shape with an Image
To fill a shape with an image in Canva, users can follow a few simple steps. First, they need to head to the “Elements” tab on the left-hand side of the Canva interface. From there, they should scroll down until they find the “Frames” section and click “See All” for a more comprehensive list of frames. Once they have picked the right frame, they can click on it to add it to their canvas.
Positioning the Image
After adding the frame to the canvas, users can select an image they would like to fill the shape with from Canva’s “Photos” tab. They can click and drag the image towards the shape until it fills its space. If they need to adjust the position of the image, they can click on the image and drag it to the desired location.
Scaling and Cropping the Image
Users may also need to adjust the size and crop of the image to fit the shape. They can do this by clicking on the image and selecting the “Crop” option. From there, they can drag the image and crop it however they need. Once they are finished, they can click “Done” and the image will be scaled and cropped to fit the shape.
Related Posts:
- How to Split an Image in Canva
- How to Replace an Image in Canva
- How to Unlock Aspect Ratio in Canva
- How to Make a GIF in Canva
- How to Crop Freehand in Canva
Adjusting the Filled Shape
After filling a shape with an image in Canva, there are several adjustments that can be made to enhance the design. This section will cover two ways to adjust the filled shape: changing image transparency and applying filters to the image.
Changing Image Transparency
To adjust the transparency of the image within the filled shape, click on the image and select the “Transparency” option located in the top toolbar. A slider will appear, allowing the user to adjust the transparency level. Drag the slider to the left to increase transparency and to the right to decrease it. This adjustment can be useful when the image is too dominant and needs to be toned down to better blend with the rest of the design.
Applying Filters to the Image
Another way to adjust the filled shape is by applying filters to the image. Canva offers a variety of filters that can be used to enhance the image and make it more visually appealing. To apply a filter, click on the image and select the “Filter” option located in the top toolbar. A list of filters will appear, and the user can preview each filter by hovering over it. Once a filter is selected, the user can adjust the intensity of the filter by dragging the slider to the left or right.
By adjusting the transparency and applying filters to the image within the filled shape, the design can be further customized to meet the user’s preferences.
Related Posts:
Saving and Downloading Your Design
Once you’ve filled your shape with an image in Canva, it’s time to save and download your design. Canva’s user-friendly interface makes it easy to save your work and access it later.
To save your design, simply click on the “Save” button located at the top right corner of the screen. Canva will automatically save your design in your account, so you can access it at any time.
To download your design, click on the “Download” button located next to the “Save” button. Canva offers a variety of download options, including PNG, JPG, PDF, and more. Choose the format that best suits your needs and click on the “Download” button to save your design to your computer.
It’s important to note that some download options may require a Canva Pro account. If you don’t have a Canva Pro account, you can sign up for a free trial to access all of Canva’s premium features.
Related Posts: