

Template Fonts is reader supported. When you buy through links on our site, we may earn an affiliate commission. Learn more
Creating a Venn Diagram can be a useful tool for illustrating relationships between ideas or concepts. Canva, a popular online design platform, offers a variety of templates and tools to help users create professional-looking Venn Diagrams.
Whether you’re a student creating a visual aid for a presentation or a professional looking to enhance a report, Canva’s user-friendly interface makes it easy to create a Venn Diagram that meets your needs.
What is a Venn Diagram?
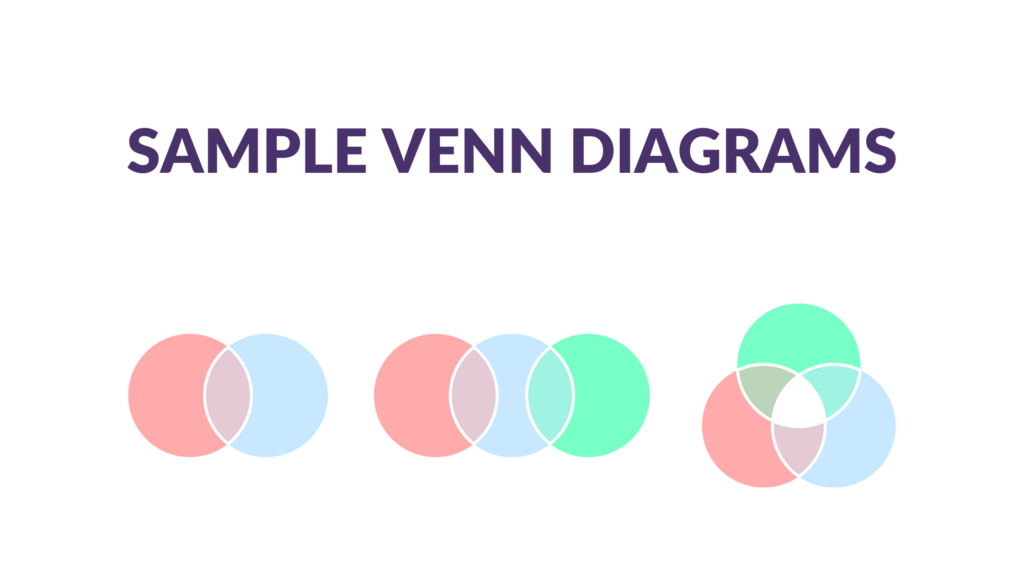
A Venn diagram is a graphical representation of the relationships between different sets of data. It consists of overlapping circles or ellipses, each representing a set, and the areas where they overlap representing the elements that are common to those sets.
Venn diagrams are commonly used in mathematics, statistics, logic, and computer science to illustrate the relationships between different sets of data.
Venn diagrams can also be used to illustrate logical relationships between different sets of data. For example, they can be used to show the relationships between different categories of logical propositions, such as “all A are B,” “some A are B,” and “no A are B.” They can also be used to illustrate the relationships between different types of logical operations, such as conjunction, disjunction, and negation.
Step-by-Step Guide to Creating a Venn Diagram in Canva

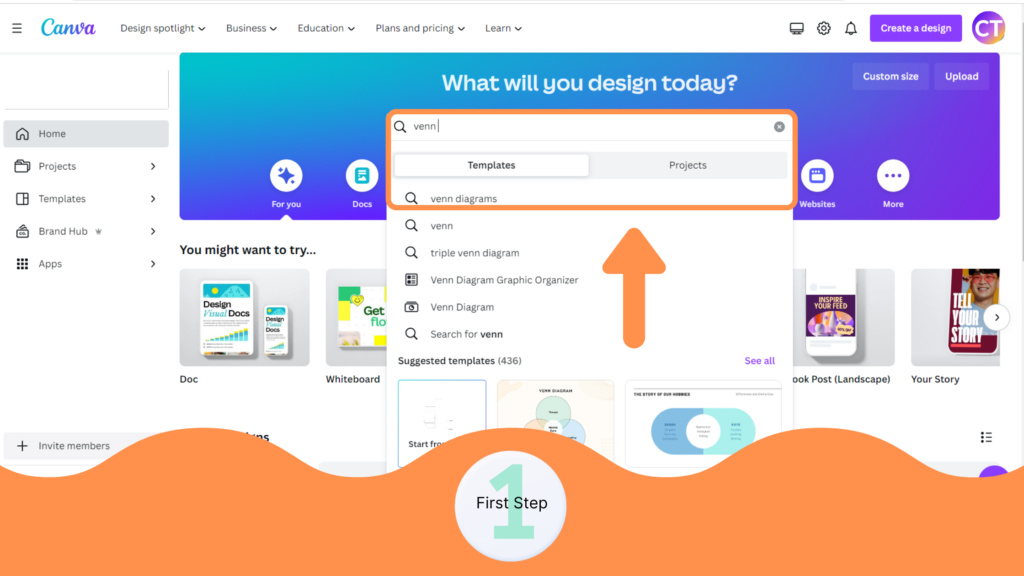
Step 1: Choose a Template
Begin by logging in to your Canva account and searching for “Venn Diagram” in the search box. Canva offers a variety of pre-designed templates to choose from, or you can start from scratch by selecting a blank template.
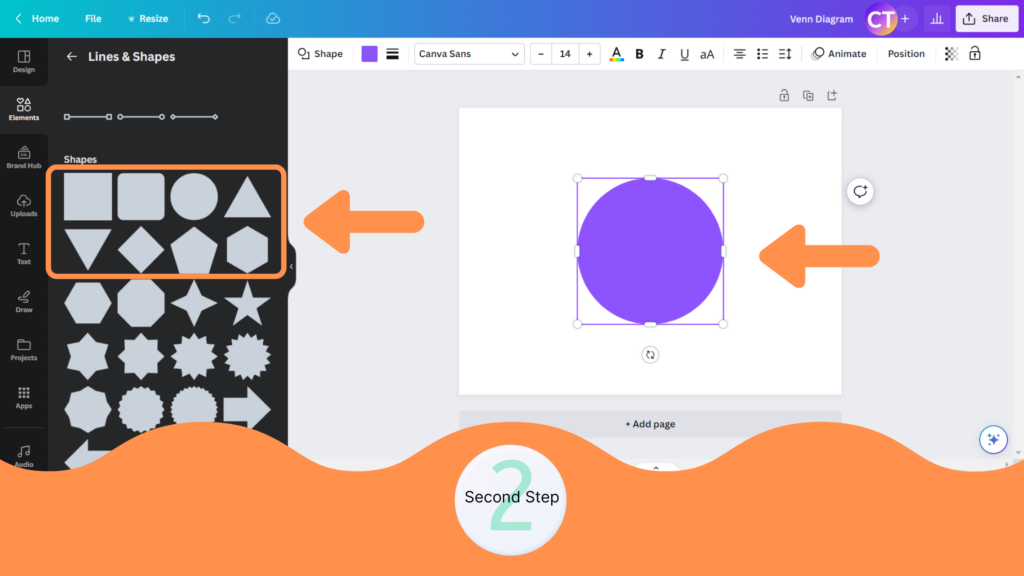
Step 2: Add Shapes
Once you have selected your template, you can begin adding shapes to your Venn diagram. Canva offers a variety of shapes to choose from, including circles, squares, and triangles. You can also adjust the size and color of each shape to fit your needs.
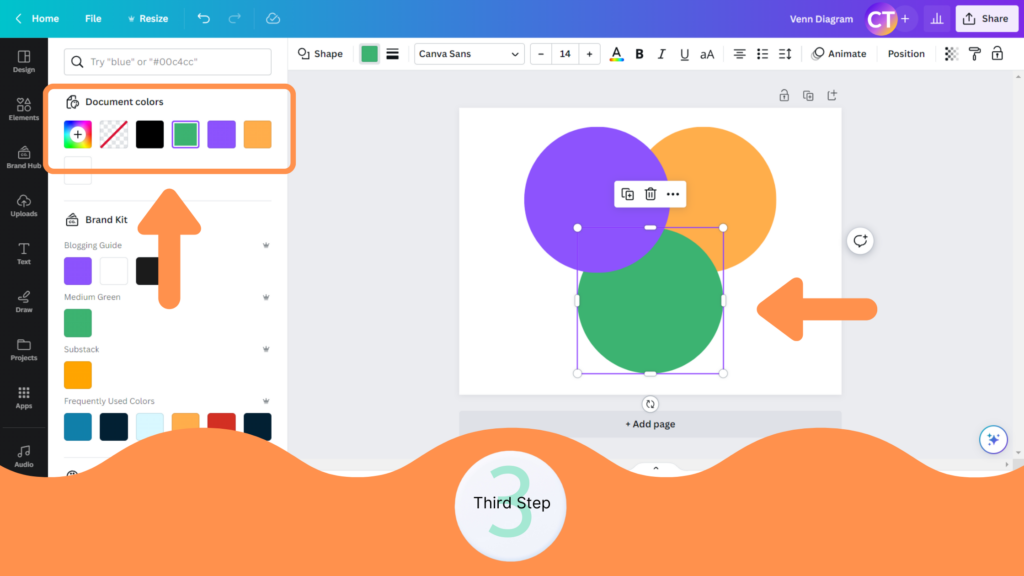
Step 3: Customize Shapes
After adding your shapes, you can customize them further by adjusting their position, size, and color. You can also add borders and shadows to each shape to make it stand out.
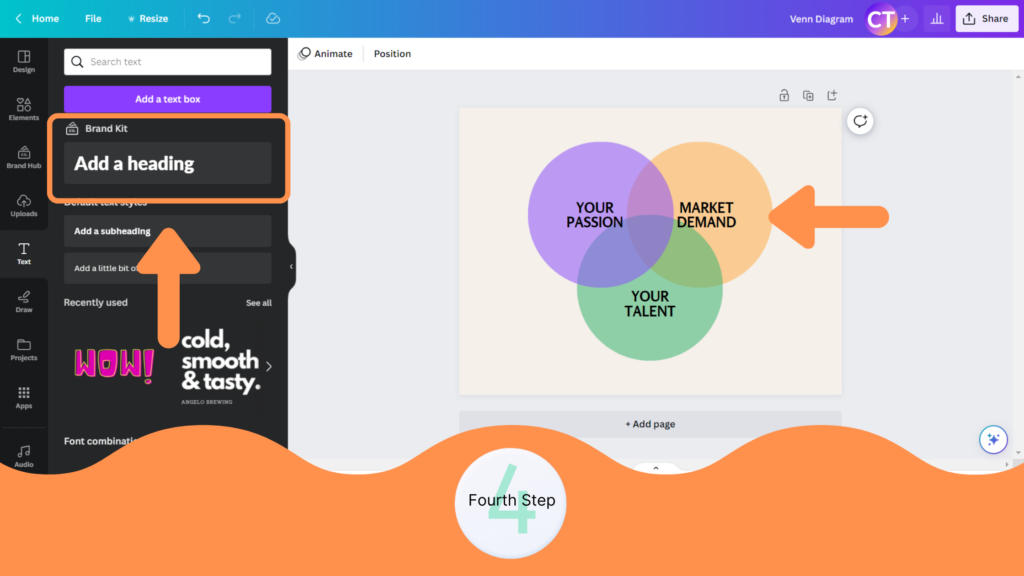
Step 4: Add Text
Next, add text to your Venn diagram to label each section. Canva offers a variety of font styles and sizes to choose from, or you can upload your own font to use. You can also adjust the color and position of each text box.
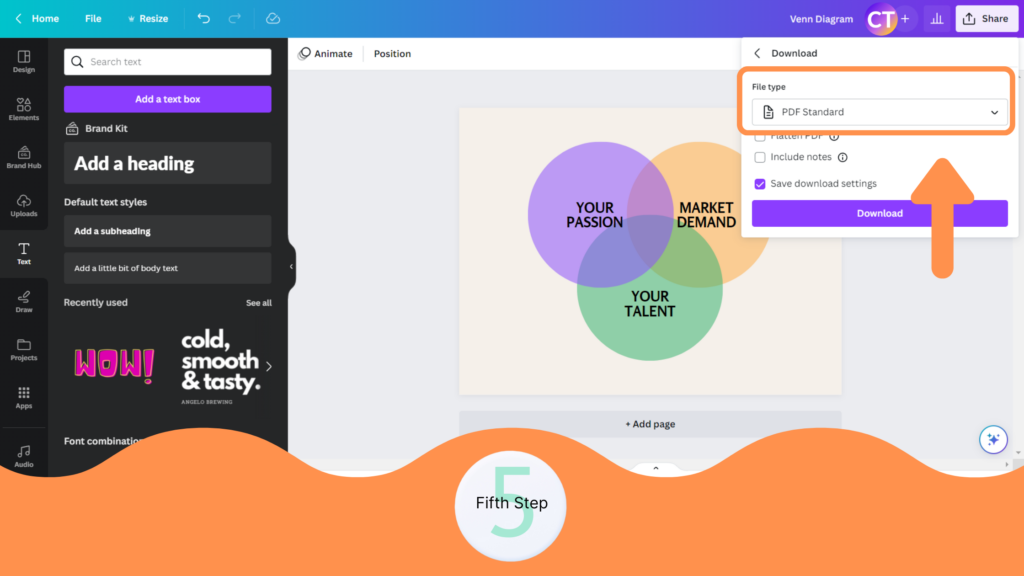
Step 5: Download and Share
Finally, when you are finished creating your Venn diagram, you can download it as a PNG, JPEG, or PDF file. You can also share your Venn diagram directly from Canva by clicking on the “Share” button and selecting the platform you want to share it on.
Conclusion
Creating a Venn diagram in Canva is a simple and user-friendly process. With the availability of templates, shapes, and text options, users can create a customized Venn diagram that best represents their data. Canva’s drag-and-drop interface makes it easy to add and edit elements, making the design process efficient and effective.