
Template Fonts is reader supported. When you buy through links on our site, we may earn an affiliate commission. Learn more
Adding audio per slide in Canva can help bring your presentations to life and make them more engaging for your audience. With Canva’s user-friendly interface, adding audio to your slides is a quick and easy process. You can choose from Canva’s library of stock audio tracks or upload your own audio files to add a personal touch to your presentation.
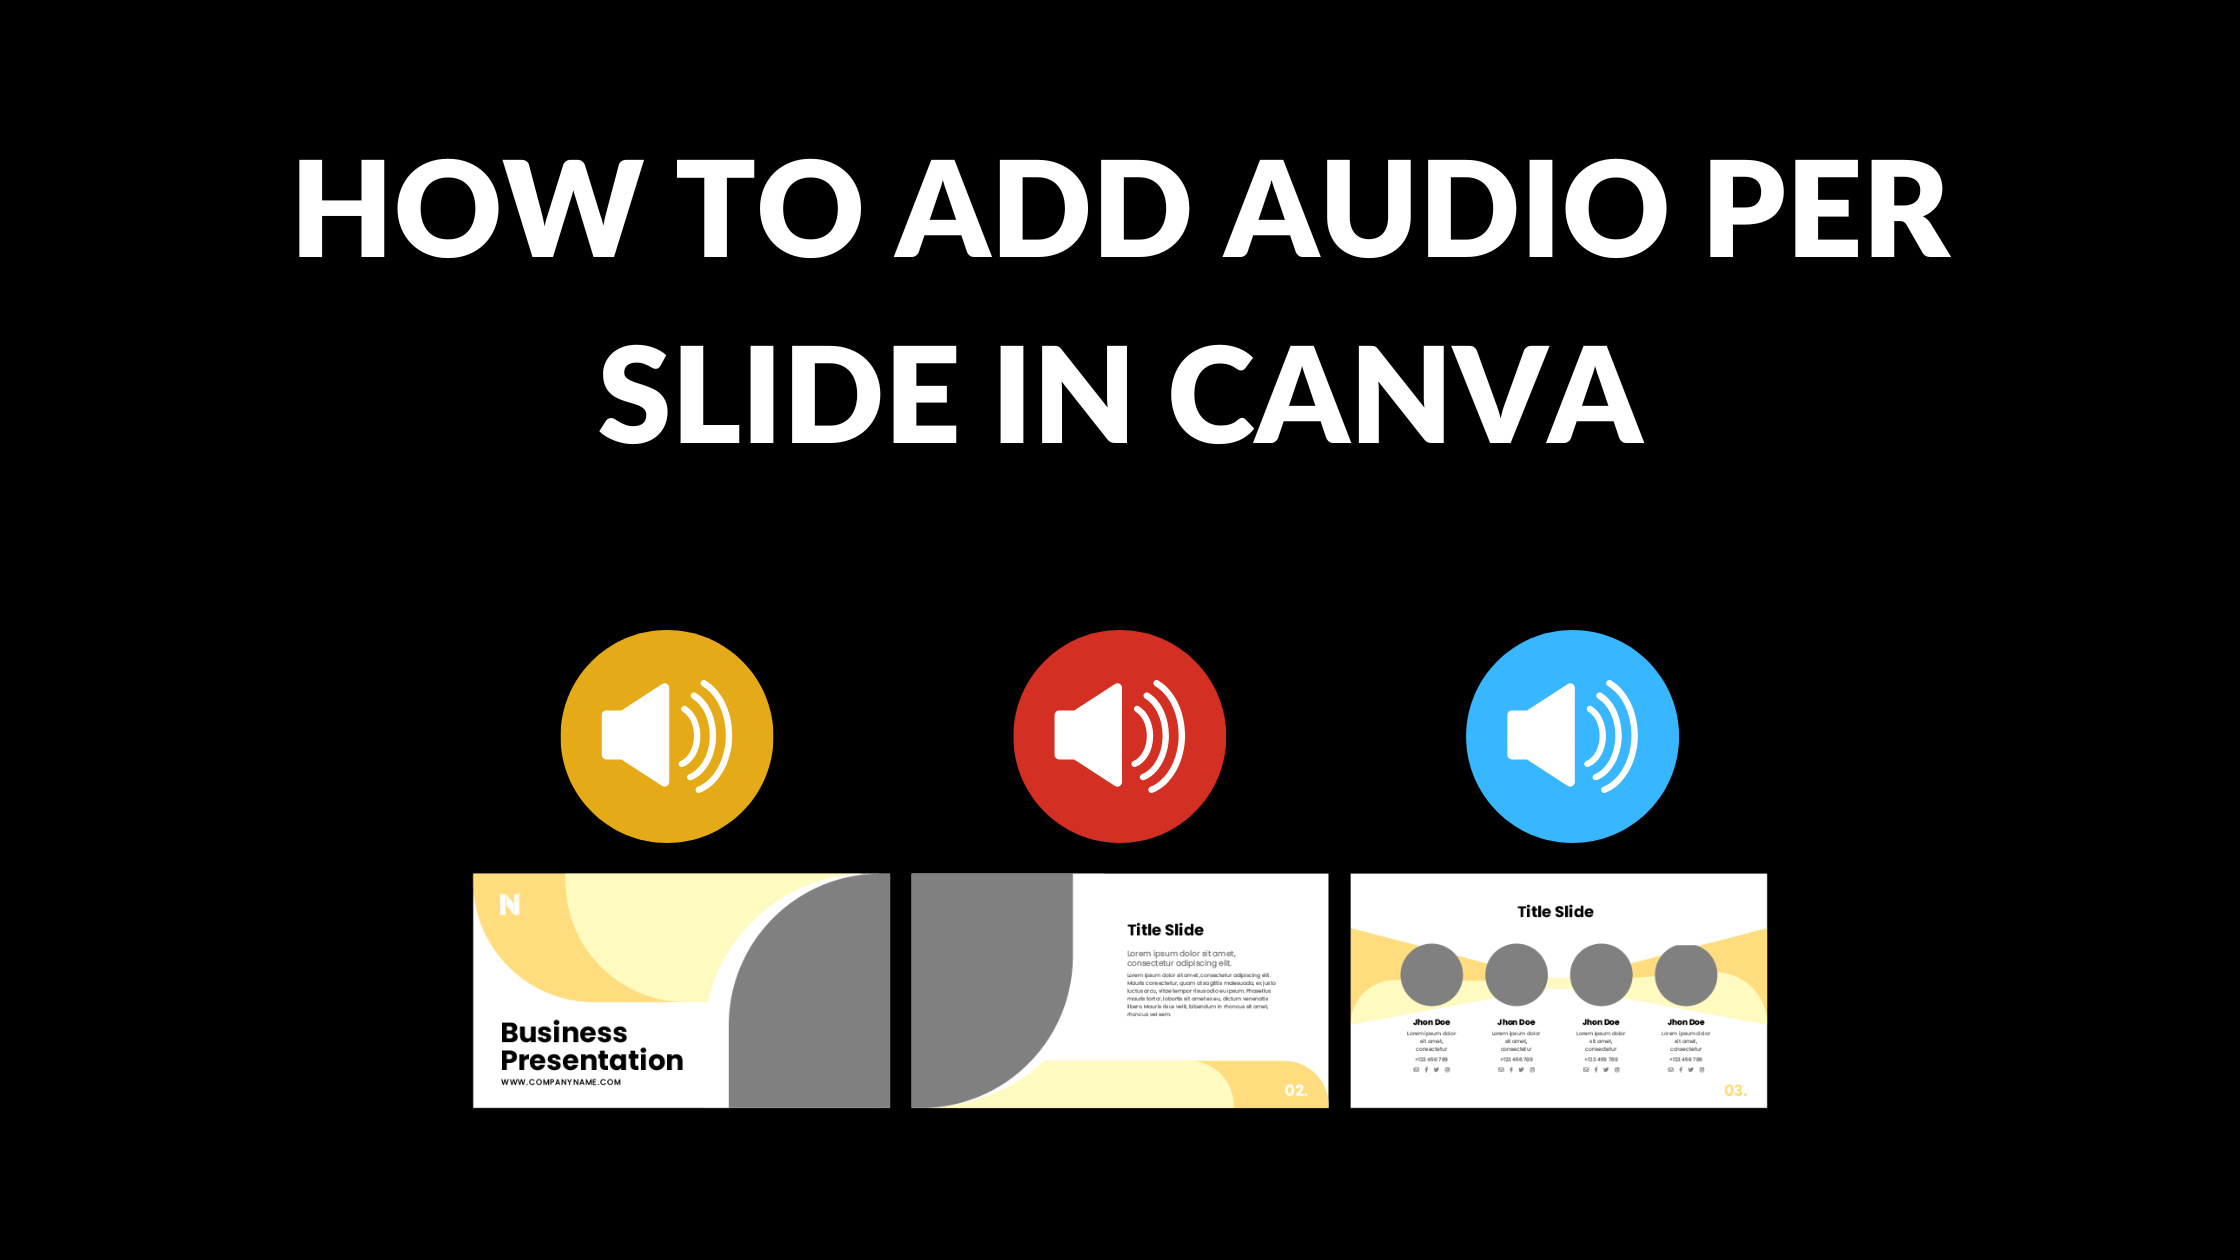
To get started with adding audio per slide in Canva, simply head over to the Audio tab in the left sidebar. From here, you can add the audio clips of your choice, with each audio track being added on a separate audio track in the timeline. You can then adjust the length of each audio clip to make sure it lines up perfectly with your slide transitions. Whether you’re creating a slideshow for a business presentation or a school project, adding audio per slide in Canva can help take your presentation to the next level.
Understanding Canva’s Interface
When starting to work with Canva, it is important to understand the different sections of its interface. The main interface contains the following elements:
-
Toolbar: located at the top of the screen, it contains the most commonly used tools such as text, shapes, and images.
-
Side panel: located on the left-hand side of the screen, it contains additional tools such as backgrounds, grids, and charts.
-
Canvas: located in the center of the screen, it is where the user creates their design.
-
Navigation bar: located at the bottom of the screen, it contains options to zoom in and out, undo and redo actions, and access to the design’s settings.
It is important to note that Canva’s interface can change depending on the type of project selected. For example, when working on a video project, the interface will include a timeline where the user can add and edit audio tracks and video clips.
Overall, Canva’s interface is user-friendly and easy to navigate, making it a great tool for beginners and professionals alike.
Choosing Your Slide
When adding audio per slide in Canva, it is important to select the slide where you want the audio to play. This section will cover how to select a slide and navigate through your slides.
Selecting Slide
To select a slide, click on the slide you want to add audio to in the left sidebar. The selected slide will be highlighted in blue. If you want to add audio to all slides, click on the first slide and then hold down the shift key while clicking on the last slide.
Navigating Through Slides
To navigate through your slides, click on the arrows located at the bottom of the left sidebar. You can also use the arrow keys on your keyboard to navigate through your slides. If you want to add audio to a specific slide, make sure that slide is selected before adding the audio.
In summary, selecting the right slide is crucial when adding audio per slide in Canva. Use the left sidebar to select a slide, and use the arrows or arrow keys to navigate through your slides.
Adding Audio to Your Slide
Uploading Audio
To add audio to your Canva slide, you need to upload an audio file first. Here’s how to do it:
- Click on the “Audio” tab in the left sidebar.
- Click the “Uploads” button at the bottom of the Audio tab.
- Select the audio file you want to upload from your computer.
- Wait for the file to upload. The time it takes will depend on the size of the file.
Once the audio file is uploaded, it will be available for you to use in your Canva design.
Selecting Audio
After uploading the audio file, it’s time to add it to your slide. Here’s how to do it:
- Click and drag the audio file from the “Uploads” section in the Audio tab to the timeline at the bottom of the screen.
- Adjust the length of the audio clip to match the duration of your slide. You can do this by dragging the edges of the audio clip in the timeline.
- You can also adjust the volume of the audio clip by clicking on the audio clip in the timeline and using the volume slider in the Audio tab.
That’s it! You’ve successfully added audio to your Canva slide. With this feature, you can make your designs more engaging and interactive by adding music, sound effects, or voiceovers.
Adjusting Audio Settings
Adjusting audio settings is an essential component of creating an engaging Canva presentation. By making changes to the volume and timing, you can create a more immersive experience for your audience.
Volume Adjustment
To adjust the volume of your audio, simply click on the audio file you want to edit. A volume slider will appear, allowing you to increase or decrease the volume of the audio. You can also mute the audio entirely by sliding the volume to the left.
It’s important to note that you should always test the audio volume in the context of your presentation. What sounds good on its own may be too loud or too quiet when combined with other elements of your presentation.
Timing Adjustment
Timing adjustment is another important aspect of adjusting audio settings. By syncing your audio with your presentation, you can create a more polished and professional presentation.
To adjust the timing of your audio, click on the audio file and select the “Trim” option. This will bring up a waveform of your audio file. You can then drag the edges of the waveform to adjust the start and end times of your audio.
It’s important to remember that timing adjustment can be time-consuming, especially if you’re working with a longer audio file. However, taking the time to sync your audio with your presentation will result in a much more polished and professional final product.
By adjusting the volume and timing of your audio, you can create a more engaging and immersive Canva presentation. Remember to test your audio in the context of your presentation and take the time to sync your audio with your presentation for a polished final product.
Previewing and Saving Your Work
Preview Function
Once you have added audio to your Canva presentation, it’s important to preview your work to ensure that everything is in order. To do this, simply click on the “Preview” button located on the top right-hand corner of the screen. This will allow you to see your presentation as it will appear to your audience. You can also use the arrow keys to navigate through your slides and check that the audio is playing correctly.
Saving Your Project
After previewing your work, it’s time to save your project. Canva automatically saves your work as you go, but it’s always a good idea to save your work manually as well. To do this, simply click on the “Save” button located on the top right-hand corner of the screen. You can also choose to save your work as a PDF or an image by clicking on the “Download” button.
It’s important to note that Canva only allows you to save your work if you have a Canva account. If you don’t have an account, you will need to create one in order to save your work. Once you have an account, you can access your saved projects at any time by clicking on the “All your designs” button located on the homepage.
In conclusion, previewing and saving your work is an important part of the design process. By previewing your work, you can ensure that everything is in order before presenting it to your audience. By saving your work, you can access it at any time and make any necessary changes.