
Template Fonts is reader supported. When you buy through links on our site, we may earn an affiliate commission. Learn more
Creating a progress bar in Canva is a simple and effective way to visually represent progress and completion. With Canva’s easy-to-use design tools, anyone can create a custom progress bar in just a few quick steps. Whether you’re tracking the progress of a project or showing the completion of a task, a progress bar can help keep you and your team motivated and on track.
To get started, simply log in to your Canva account and select the design type you want to create. From there, you can choose from a variety of progress bar templates or create your own from scratch. Canva’s drag-and-drop interface makes it easy to add text, shapes, and other design elements to your progress bar, allowing you to customize it to fit your needs.
Whether you’re a designer or a non-designer, creating a progress bar in Canva is a great way to add visual interest to your projects and keep track of progress. With Canva’s intuitive design tools and easy-to-use interface, anyone can create a custom progress bar in just a few minutes. So why not give it a try and see how it can help you stay motivated and on track?
Understanding Progress Bars
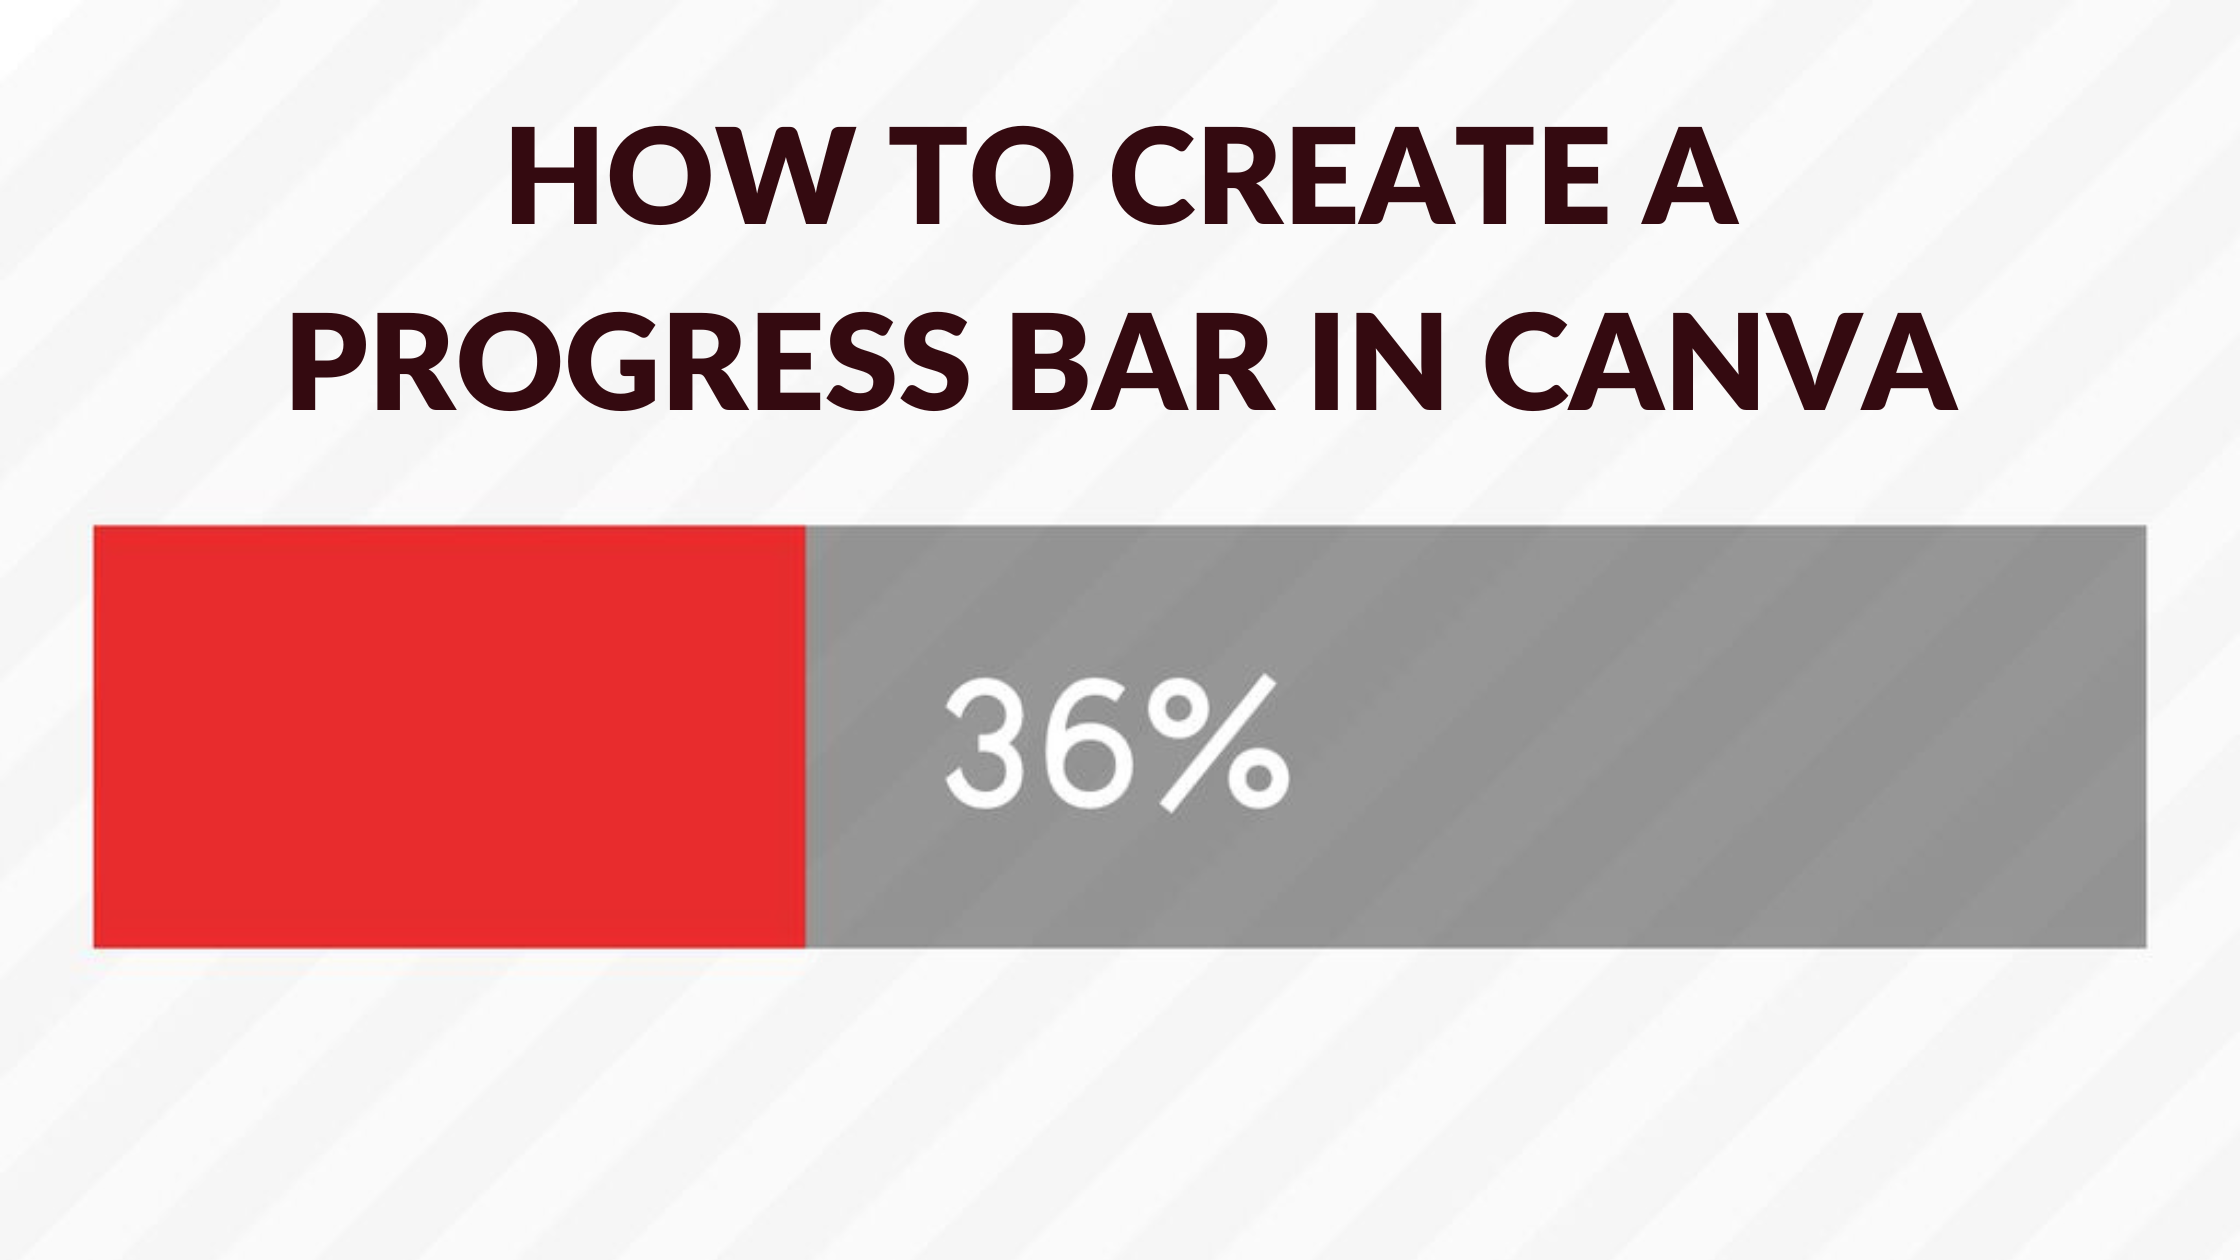
A progress bar is a graphical representation of the progress of a task. It is a visual aid that helps users understand how much of a task has been completed and how much is left to be done. Progress bars are commonly used in software applications, websites, and other digital media to show the progress of a download, upload, installation, or any other task that takes time to complete.
A progress bar consists of a rectangular bar that is filled with a color or pattern to indicate the progress of the task. The bar is divided into segments, and each segment represents a portion of the task that has been completed. As the task progresses, the segments are filled in one by one until the entire bar is filled, indicating that the task is complete.
Progress bars are an effective way to communicate progress to users. They help reduce anxiety and uncertainty by providing users with a clear indication of how much of a task has been completed and how much is left to be done. They also help users estimate how much time is remaining for the task to complete.
In Canva, progress bars can be easily created using the various design elements available. Users can customize the color, size, and style of the progress bar to match the design of their project. With a little creativity, progress bars can be made to look interesting and visually appealing, while still serving their primary purpose of communicating progress to the user.
Getting Started with Canva
Canva is a user-friendly graphic design tool that allows users to create a wide range of designs, including progress bars. To get started with Canva, users must create an account on the Canva website or app. The sign-up process is straightforward and requires users to enter their email address and create a password.
Once users have created an account, they can begin creating designs by selecting a template or starting from scratch. Canva offers a wide range of templates for various design types, including social media posts, posters, business cards, and more. Users can also search for templates based on their industry or design needs.
Canva’s interface is intuitive and easy to use. Users can add elements to their designs by dragging and dropping them onto the canvas. Canva offers a wide range of elements, including shapes, icons, illustrations, and more. Users can also upload their images and use them in their designs.
Users can customize their designs by changing the font, color, and size of the elements. Canva offers a wide range of fonts and colors to choose from, making it easy to create a design that matches the user’s brand or style.
Overall, Canva is an excellent tool for creating designs, including progress bars. Its user-friendly interface and wide range of templates and elements make it easy for users of all skill levels to create professional-looking designs.
Creating a New Design in Canva
To create a progress bar in Canva, the first step is to create a new design. Canva offers a variety of design templates, including social media posts, presentations, and graphics.
To create a new design, simply click on the “Create a design” button on the Canva homepage. From there, you can choose the type of design you want to create, or you can create a custom design by specifying the dimensions you want.
Once you’ve chosen your design type or specified your custom dimensions, you’ll be taken to the Canva editor. The editor is where you can add and edit elements in your design.
In the editor, you’ll see a toolbar on the left side of the screen. This toolbar contains all of the elements you can add to your design, including text, shapes, and images. To add an element to your design, simply click on it in the toolbar and drag it onto the canvas.
You can also customize the elements in your design by using the toolbar at the top of the screen. This toolbar contains options for changing the color, size, and other properties of the elements in your design.
Overall, creating a new design in Canva is a simple and intuitive process. With a few clicks, you can create a custom design that meets your specific needs.
Choosing the Right Elements
When creating a progress bar in Canva, it’s important to choose the right elements to make it visually appealing and effective. Canva offers a variety of design elements that can be used to create a customized progress bar, including shapes, lines, and charts.
Shapes can be used to create the base of the progress bar, while lines can be used to indicate the progress. Charts can also be used to create a progress bar, and they offer the added benefit of being able to show multiple data points.
When choosing the right elements, it’s important to consider the overall design of the project. The progress bar should fit seamlessly with the rest of the design and not look out of place. The color scheme and font choice should also be taken into consideration to ensure that the progress bar complements the rest of the design.
It’s also important to consider the purpose of the progress bar. Is it meant to show progress towards a specific goal? Or is it meant to show the progress of a process? The purpose of the progress bar will help determine the design elements that should be used.
Overall, choosing the right elements for a progress bar in Canva requires careful consideration of the design, purpose, and overall aesthetic of the project. By selecting the right elements, the progress bar can be both visually appealing and effective in conveying information to the viewer.
Building Your Progress Bar
Creating a progress bar in Canva is a straightforward process. First, open Canva and select the “Create a design” option. Next, choose the “Custom dimensions” option from the drop-down menu. In the “Width” field, enter the desired width of your progress bar. Then, in the “Height” field, enter the desired height of your progress bar. Finally, click on the “Create” button.
Once you have created your custom design, you can start building your progress bar. The first step is to add a rectangle shape to your design. To do this, click on the “Elements” tab in the left-hand menu and select “Shapes.” Choose the rectangle shape and drag it onto your design.
Next, you will need to adjust the size and color of your rectangle to match your desired progress bar. Click on the rectangle shape to select it, and then use the sizing handles to adjust its size. You can also change the color of the rectangle by clicking on the “Fill” option in the top toolbar.
After you have customized your rectangle shape, you can add a progress indicator to your design. To do this, click on the “Elements” tab and select “Icons.” Choose an icon that represents your progress, such as a checkmark or a percentage symbol. Drag the icon onto your design and position it over the rectangle shape.
Finally, you will need to adjust the position of the progress indicator to match your progress. To do this, click on the progress indicator to select it, and then use the positioning handles to adjust its position. You can also change the color of the progress indicator by clicking on the “Fill” option in the top toolbar.
With these simple steps, you can create a customized progress bar in Canva that accurately represents your progress. Whether you are tracking a project or displaying your skills, a progress bar is an effective way to communicate your progress to others.
Customizing Your Progress Bar
Once you have created your progress bar in Canva, it’s time to customize it to fit your brand or project. Canva offers a range of customization options that allow you to change the color, shape, and size of your progress bar.
Firstly, you can change the color of your progress bar to match your brand or project. Simply select the progress bar and click on the color picker to choose a new color. Canva also offers a range of pre-made color palettes that you can use to quickly and easily change the color of your progress bar.
Next, you can change the shape of your progress bar. Canva offers a range of shapes that you can use to create a unique progress bar. You can choose from circles, rectangles, and squares, or you can create your own custom shape.
You can also change the size of your progress bar to fit your design. Simply select the progress bar and drag the corners to resize it. You can also use the size options in the toolbar to set the exact size of your progress bar.
Finally, you can add text or icons to your progress bar to provide more information about your project or brand. Canva offers a range of text and icon options that you can use to customize your progress bar.
With these customization options, you can create a unique and professional progress bar that fits your brand or project.
Saving and Exporting Your Design
Once you’ve created your progress bar in Canva, it’s time to save and export your design. There are two ways to save your progress bar: automatic saving and manual saving.
With automatic saving, Canva will save your design to your Canva profile as you work on it. This means you don’t have to worry about losing any changes you’ve made to your progress bar. However, if you want to make sure your progress bar is saved to your personal computer, you’ll need to use manual saving.
To manually save your progress bar, click on File and then Save from the status bar. This will save your design to your Canva profile and give you the option to download it to your personal computer.
When it comes to exporting your progress bar, Canva offers several file formats to choose from, including JPG, PNG, PDF, and SVG. To export your progress bar, click on the Download button in the top right corner of the screen and select the file format you want to use.
It’s important to note that some file formats are better suited for certain uses than others. For example, if you plan to print your progress bar, you’ll want to use a high-resolution file format like PDF or SVG. If you’re sharing your progress bar online, a lower-resolution file format like JPG or PNG should work just fine.
Overall, saving and exporting your progress bar in Canva is a simple process that can be done in just a few clicks. Whether you’re using automatic saving or manual saving, and whether you’re exporting in JPG, PNG, PDF, or SVG, Canva makes it easy to share your progress bar with the world.
Implementing Your Progress Bar
Once you have created your progress bar in Canva, it’s time to implement it into your project. Here are a few simple steps to follow:
- Download your progress bar as a PNG or JPG file.
- Open your project in Canva or your preferred design software.
- Insert the progress bar into your project by dragging and dropping the file into your design.
- Resize the progress bar to fit your project’s dimensions.
- Adjust the colors and styles of the progress bar to match your project’s theme.
- Add text or other design elements to complement the progress bar if desired.
- Save and export your project as a final product.
When implementing your progress bar, it’s important to keep in mind the purpose of the bar and how it will be used in your project. For example, if you are using the progress bar to track the completion of a task, make sure it is placed in a prominent location and is easy to read. If you are using the progress bar to indicate the progress of a fundraising campaign, consider including a call-to-action button or other elements to encourage donations.
Overall, implementing your progress bar is a simple process that can add a professional touch to your design project. With a few adjustments and customizations, your progress bar can become an effective tool for tracking progress and engaging your audience.